> ## Documentation Index
> Fetch the complete documentation index at: https://ngrok.com/docs/llms.txt
> Use this file to discover all available pages before exploring further.
# Private Connectivity to Remote IoT Devices with ngrokd
> Use ngrokd to configure private, remote access to IoT devices and services in the field without a VPN.
ngrok's Gateway allows you to connect to any app, IoT device, or service without networking expertise.
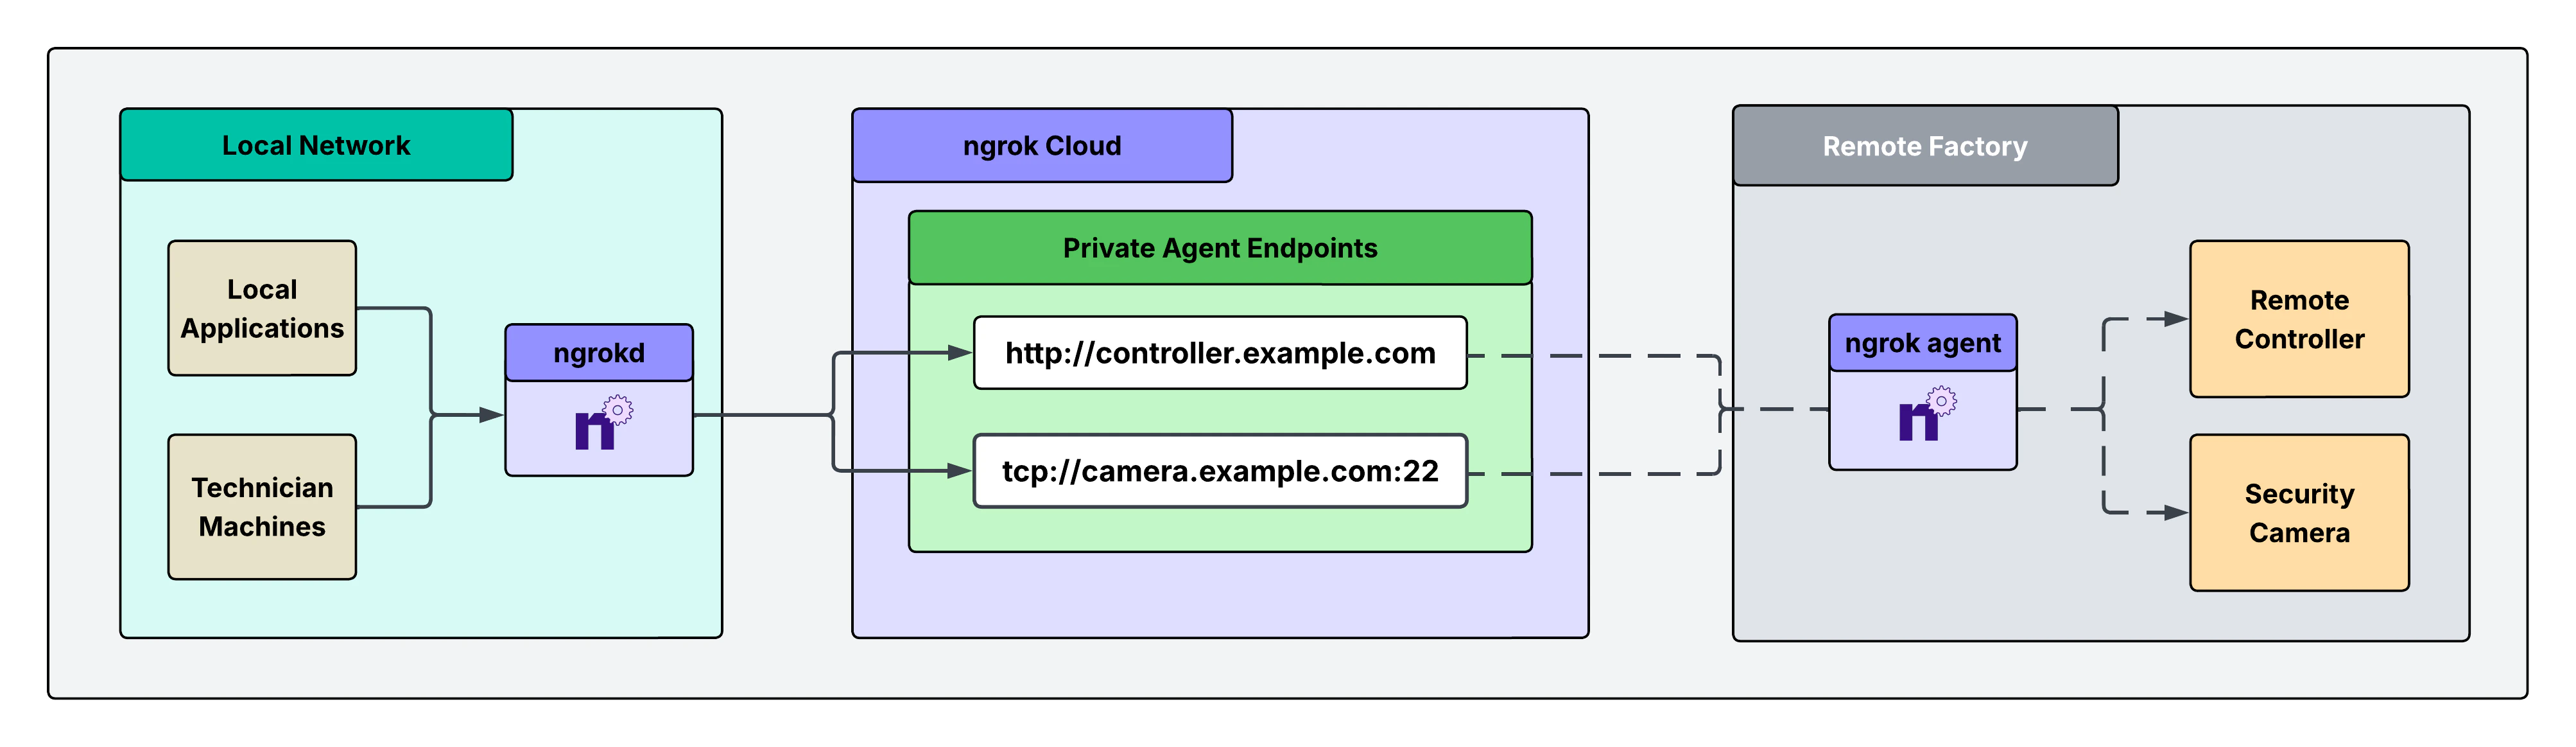
This guide walks you through how to configure `ngrokd`: an ngrok component that enables a private, end-to-end remote access solution for IoT devices. This solution lets you securely access critical systems remotely without exposing them through public, authenticated endpoints. Instead, it leverages private endpoints that are only reachable from your local environment, eliminating your external attack surface while maintaining full access.
## Architectural reference
 ## What you'll need
* An ngrok account. If you don't have one, [sign up](https://dashboard.ngrok.com/signup).
* An ngrok API key. You'll need an account first.
* An ngrok agent installed in a remote IoT-based network. See the [getting started guide](/getting-started/) for instructions on how to install the ngrok agent.
## 1. Install ngrokd in your local environment, start it, and set your API key
`ngrokd` is a lightweight daemon that makes your ngrok endpoints privately accessible and locked down to your local services. It automatically discovers your endpoints, assigns them local addresses, and forwards traffic through ngrok's secure infrastructure, allowing your apps to reach remote services without any network configuration. Think of it as a local proxy that turns ngrok endpoints into services that feel like they're running on your machine.
```bash theme={null}
curl -fsSL https://raw.githubusercontent.com/ngrok/ngrokd/main/install.sh | sudo bash
sudo ngrokd install
sudo ngrokd start
ngrokctl set-api-key YOUR_NGROK_API_KEY
```
```bash theme={null}
curl -fsSL https://raw.githubusercontent.com/ngrok/ngrokd/main/install.sh | sudo bash
sudo ngrokd install
sudo ngrokd start
ngrokctl set-api-key YOUR_NGROK_API_KEY
```
```powershell theme={null}
# Run as Administrator
iwr -useb https://raw.githubusercontent.com/ngrok/ngrokd/main/install.ps1 | iex
Start-Process ngrokd -ArgumentList '--config=C:\ProgramData\ngrokd\config.yml' -WindowStyle Hidden
ngrokctl set-api-key YOUR_NGROK_API_KEY
```
```bash theme={null}
docker pull ngrok/ngrokd:latest
docker run -d \
--name ngrokd \
--cap-add=NET_ADMIN \
-e NGROK_API_KEY= \
-v ngrokd-data:/etc/ngrokd \
ngrok/ngrokd:latest
```
## 2. Create a service user and authtoken for isolated network access
Create a service user and an associated authtoken for each of your remote networks.
A service user is intended for automated systems that programmatically interact with your ngrok account (other platforms sometimes call this concept a Service Account).
Create a separate service user and associated authtoken for each remote network so that:
* Their usage of your ngrok account is isolated and scoped with a specific permission set
* If an agent is compromised, you can revoke its access independently
* Agent start/stop audit events are properly attributed to each network
* Your ngrok agents don't stop working if the human user who set them up leaves your ngrok account
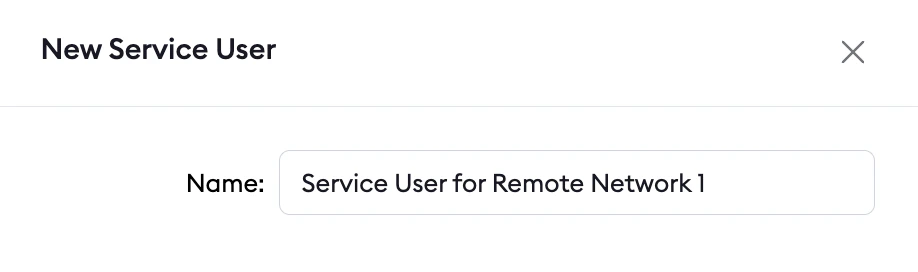
Navigate to the [Service Users](https://dashboard.ngrok.com/service-users) section of your dashboard and click **New Service User**.
## What you'll need
* An ngrok account. If you don't have one, [sign up](https://dashboard.ngrok.com/signup).
* An ngrok API key. You'll need an account first.
* An ngrok agent installed in a remote IoT-based network. See the [getting started guide](/getting-started/) for instructions on how to install the ngrok agent.
## 1. Install ngrokd in your local environment, start it, and set your API key
`ngrokd` is a lightweight daemon that makes your ngrok endpoints privately accessible and locked down to your local services. It automatically discovers your endpoints, assigns them local addresses, and forwards traffic through ngrok's secure infrastructure, allowing your apps to reach remote services without any network configuration. Think of it as a local proxy that turns ngrok endpoints into services that feel like they're running on your machine.
```bash theme={null}
curl -fsSL https://raw.githubusercontent.com/ngrok/ngrokd/main/install.sh | sudo bash
sudo ngrokd install
sudo ngrokd start
ngrokctl set-api-key YOUR_NGROK_API_KEY
```
```bash theme={null}
curl -fsSL https://raw.githubusercontent.com/ngrok/ngrokd/main/install.sh | sudo bash
sudo ngrokd install
sudo ngrokd start
ngrokctl set-api-key YOUR_NGROK_API_KEY
```
```powershell theme={null}
# Run as Administrator
iwr -useb https://raw.githubusercontent.com/ngrok/ngrokd/main/install.ps1 | iex
Start-Process ngrokd -ArgumentList '--config=C:\ProgramData\ngrokd\config.yml' -WindowStyle Hidden
ngrokctl set-api-key YOUR_NGROK_API_KEY
```
```bash theme={null}
docker pull ngrok/ngrokd:latest
docker run -d \
--name ngrokd \
--cap-add=NET_ADMIN \
-e NGROK_API_KEY= \
-v ngrokd-data:/etc/ngrokd \
ngrok/ngrokd:latest
```
## 2. Create a service user and authtoken for isolated network access
Create a service user and an associated authtoken for each of your remote networks.
A service user is intended for automated systems that programmatically interact with your ngrok account (other platforms sometimes call this concept a Service Account).
Create a separate service user and associated authtoken for each remote network so that:
* Their usage of your ngrok account is isolated and scoped with a specific permission set
* If an agent is compromised, you can revoke its access independently
* Agent start/stop audit events are properly attributed to each network
* Your ngrok agents don't stop working if the human user who set them up leaves your ngrok account
Navigate to the [Service Users](https://dashboard.ngrok.com/service-users) section of your dashboard and click **New Service User**.
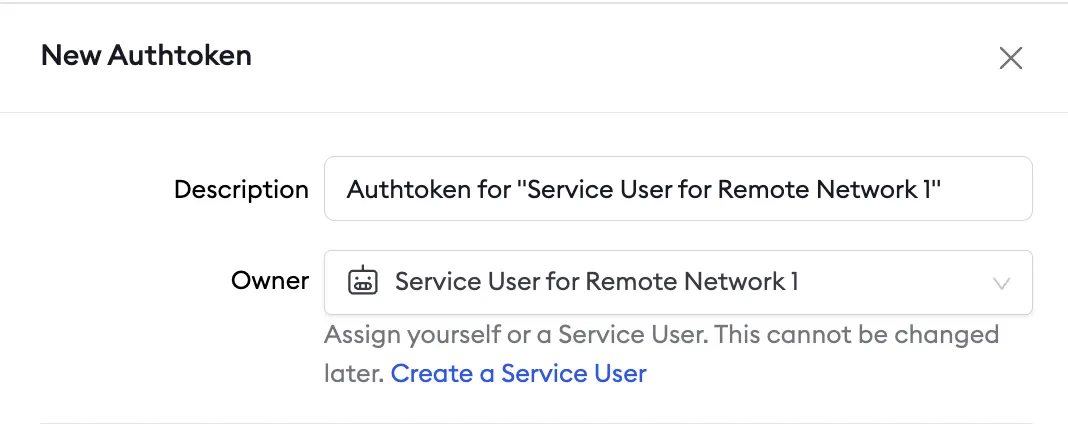
 Next, create an authtoken assigned to this specific service user.
 ## 3. Install the ngrok agent within your remote network and configure private Agent Endpoints in ngrok.yml
First, install the agent in your remote network, either on a gateway or directly on a device.
Follow the [getting started guide](/getting-started/) for installation instructions.
Then, configure the agent to create private Agent Endpoints pointing to the devices you want to remotely access.
This connects the devices to your ngrok account, and the configuration is shown in the example agent configuration file below.
**Private Agent Endpoints** are private endpoints that can **only** receive traffic from services on your local network where `ngrokd` is installed.
These endpoints are not publicly addressable anywhere on the internet, and access is **completely locked down** to your local environment.
After installing the ngrok agent, define private Agent Endpoints for each service you want to remotely access inside the ngrok configuration file at `/path/to/ngrok/ngrok.yml`:
```yaml theme={null}
version: 3
agent:
authtoken: AUTHTOKEN_CREATED_IN_STEP_2
endpoints:
- name: Internal Endpoint for Controller
url: http://controller.example.com
upstream:
url: 9080
bindings:
- kubernetes
- name: Internal Endpoint for Security Camera
url: tcp://camera.example.com:22
upstream:
url: 22
bindings:
- kubernetes
```
Once you've saved the configuration, activate your endpoints by running:
```bash theme={null}
ngrok start --all
```
## 4. Test end-to-end connectivity from your local environment to upstream devices
From the machine where `ngrokd` is running, run:
```bash theme={null}
ngrokctl list
```
You should see your private endpoints listed:
## 3. Install the ngrok agent within your remote network and configure private Agent Endpoints in ngrok.yml
First, install the agent in your remote network, either on a gateway or directly on a device.
Follow the [getting started guide](/getting-started/) for installation instructions.
Then, configure the agent to create private Agent Endpoints pointing to the devices you want to remotely access.
This connects the devices to your ngrok account, and the configuration is shown in the example agent configuration file below.
**Private Agent Endpoints** are private endpoints that can **only** receive traffic from services on your local network where `ngrokd` is installed.
These endpoints are not publicly addressable anywhere on the internet, and access is **completely locked down** to your local environment.
After installing the ngrok agent, define private Agent Endpoints for each service you want to remotely access inside the ngrok configuration file at `/path/to/ngrok/ngrok.yml`:
```yaml theme={null}
version: 3
agent:
authtoken: AUTHTOKEN_CREATED_IN_STEP_2
endpoints:
- name: Internal Endpoint for Controller
url: http://controller.example.com
upstream:
url: 9080
bindings:
- kubernetes
- name: Internal Endpoint for Security Camera
url: tcp://camera.example.com:22
upstream:
url: 22
bindings:
- kubernetes
```
Once you've saved the configuration, activate your endpoints by running:
```bash theme={null}
ngrok start --all
```
## 4. Test end-to-end connectivity from your local environment to upstream devices
From the machine where `ngrokd` is running, run:
```bash theme={null}
ngrokctl list
```
You should see your private endpoints listed:
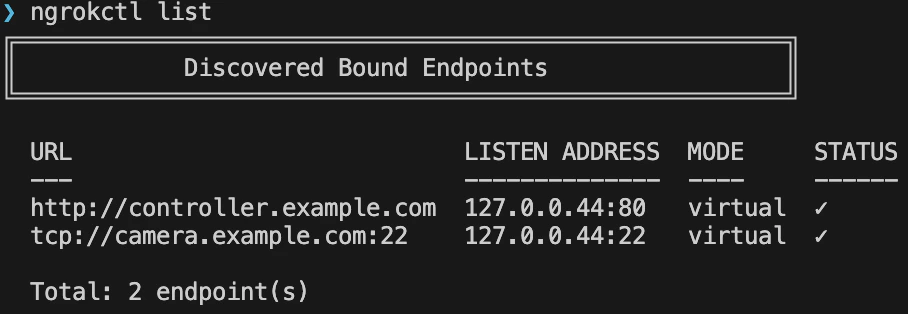 From here, you can curl your HTTP endpoint and verify you get the expected response.
The same can be done for your TCP endpoint by connecting at the assigned hostname and port:
```bash theme={null}
ssh user@camera.example.com -p 22
```
## What's next
* [Install ngrok as a background service](/guides/site-to-site-connectivity/background-service) to ensure the agent starts on boot and recovers from failures.
* [Eliminate single points of failure with redundant agents](/guides/site-to-site-connectivity/redundant-agents) to achieve high availability.
From here, you can curl your HTTP endpoint and verify you get the expected response.
The same can be done for your TCP endpoint by connecting at the assigned hostname and port:
```bash theme={null}
ssh user@camera.example.com -p 22
```
## What's next
* [Install ngrok as a background service](/guides/site-to-site-connectivity/background-service) to ensure the agent starts on boot and recovers from failures.
* [Eliminate single points of failure with redundant agents](/guides/site-to-site-connectivity/redundant-agents) to achieve high availability.